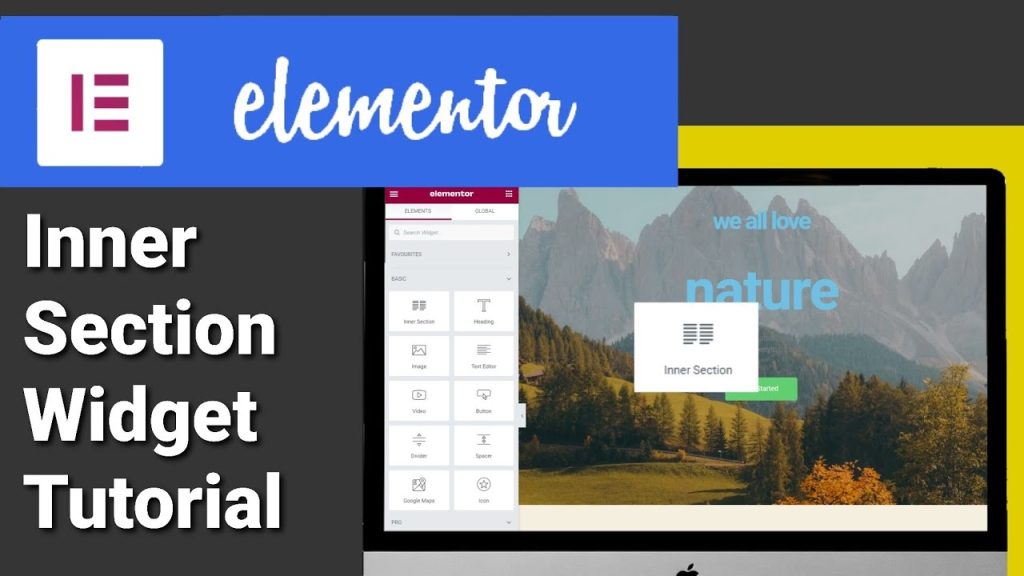
Elementor Inner Section Widget (Beginners Tutorial 2022)
Hi guys in this Tutorials I’m going to show you how to use the inner section widget. Don’t forget to like and subscribe for future Tutorials.
The first thing we’re going to do is drop our inter section widget onto our page. As you can see there are two placeholders that we can drop our widgets into on the left hand side. You can change the width of the content in the box. So you can have it boxed or full width. Underneath that you can change the gap in between the columns. Underneath that you have height this option allows you to make the column fit the full height of the screen.
If i select it and scroll down. You can see what I mean if you was viewing on a mobile phone or on a tablet. It would automatically fit the size of the screen.
Underneath height you can change the vertical alignment it’s a bit difficult showing you without anything in the box. So if you subscribe to the channel and watch me build one of my pages. Then you’ll be able to see it in full effect. Finally on the list is overflow you can use this to hide any elements that over spill the margins of the page. This normally creates a weird left and right scroll if hidden is selected.
Anything outside the margins will be cut off below that is HTML tags. These tags help you structure your website and help search engines find vital information on your page. Underneath the layout you can change the structure of the inner element. In here you can decide whether you want a 50-50 split between the two elements or whether you want to give more space to the right hand side element or the left hand side.

Moving on now we’re going to go and click on the style tab on the top row. This is where you can change colours of your background and borders. The first option you’ll see is background and this is where you can change the colour. You can leave it as one single colour or you can have a hover effect. for this Tutorial I’m going to leave it as a single colour background. If you wanted to you could change the background type. You could either make it gradient video or slideshow.
I’m going to choose the first one which is the classic one colour background. When selected it also gives you an option to add an image. If you click on the little box here it will open the colour picker. This is where you can choose which colour you want for your background of your widget. If for any reason you want to remove the colour just click on the reset button. You can also change how opaque the background colour is so if you want to make it slightly more see-through.
All you need to do is slide this bar down slightly. If you had an image underneath you would be able to see it moving down on the list. We’re now going to click on background overlay this option lets you add a colour over the top of your widget. Moving down again we’re going to click on border this is where you can add a border to your inner section widget.
As you can see you can choose from solid double dotted dashed and groove. Underneath that you can change the border radius. You also have the option to add a shadow to your widget. If you wanted to you could change the colour of your shadow by using the colour picker. You also have the option to make the shadow appear more on one side or the other. All you have to do is adjust the horizontal and vertical bars.
The next thing we’re going to take a look at is the shape divider. this is something that can be used to add a bit of style or colour to your page. If you click on the drop-down list. You’ll get a full list of the different effects you can add to your widget. I’ve chosen drops on this one but you can change it to triangle and you can change the colour by clicking on the colour picker. Ro show you some of the other effects you can select clouds and you can also select waves.
If you wanted to you could change the width and all you need to do is drag the sliding bar up and down. If you wanted to you could also change the height it’s also possible to flip the image and bring it to the front. Finally we’re going to move on to typography in here. As you can probably guess this is where you change all the colours of your text. You can also change their alignment.
If you want to know how to use the advanced features then check out the Tutorial Here. If you did find this Tutorial useful please do like and subscribe for future Tutorials. It does help me to reach a bigger audience thanks for reading and see you in the next Tutorial.

