Elementor Heading Widget (Beginners Tutorial 2022)
Hi guys in this video I’m going to show you how to use the heading widget in Elementor. Don’t forget to like and subscribe for future Tutorials.
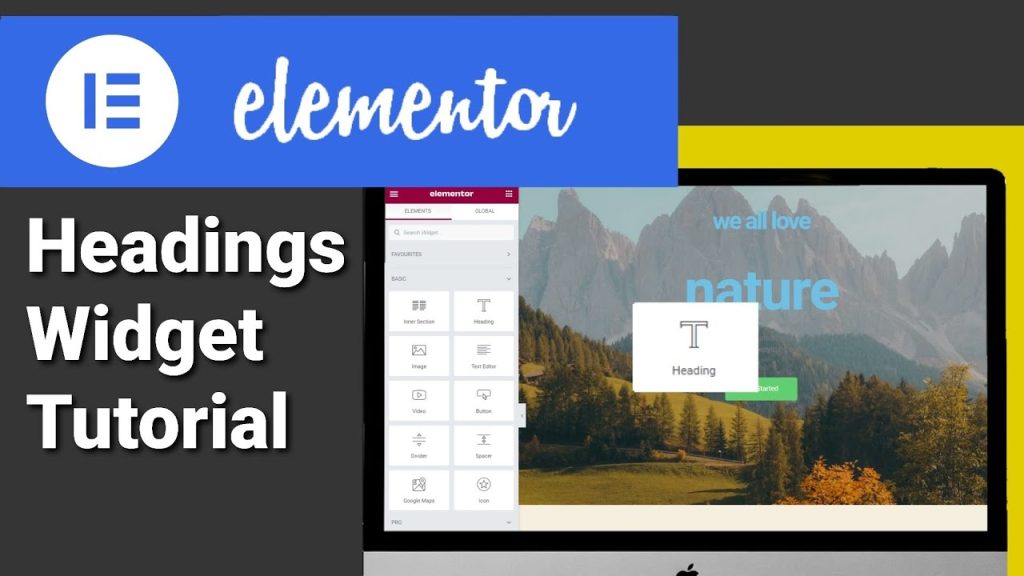
The first thing you need to do is drag and drop your headings widget into your page. To change the title all you need to do is click in this box here and start typing your text. You can also type straight into the main page should you want. This can link to be another page. All you need to do is start typing in your URL into this box. As soon as you start typing it will give you the option to choose one of the pages on your website.
If you want to link to an external website then all you need to do is continue typing the web address. I always find it useful to open external web addresses in a new tab. You also have the ability here now to add no follows and custom attributes. We’re going to move on now to the size of our text you can choose from small, medium, large, extra large, and extra extra large by changing the size here.

It will override any other sizes you have set previously on the page. Moving down again now we can change our html tags. If you want to change your heading from h2 to h1 or h6 this is where to do it.
Finally at the bottom you can change the alignment of your heading. Moving up to the top of the page now we’re going to click on the style tab. In here the first option you’re going to have is to choose the colour picker and change the colour of your heading. As you can see it’s extremely easy to change the colour of your text.
All you need to do is slide through the different colours. If you wanted to change how opaque your text is all you need to do is click on the slide bar underneath the colour picker and slide it up and down. Next we’re going to click on typography. In here we can change the style of our text and if we click on the slide bar underneath we can change the size. Another cool feature is you can change the thickness of your letters.
All you need to do is click on weight and change the size. If you’ve accidentally left your cap locks on or forgot to turn them on then Elementor will have you covered. You can click on the drop down menu in transform and you can make all your words uppercase or lowercase. Next is style which I’ve got lots of with this you can make your text italic or oblique. Underneath the style box is the decoration box. This is just a fancy way of underlining or overlining your text.
You can also put a line for it almost to the end and next we’re going to click on line height. This is where you can add a bit of space at the top of the text. Underneath that is letter spacing and that is how much space is in between each letter. Finally we have word spacing where you can put extra space in between the words on your heading.
Next on the list is text stroke and this is basically a fancy way of saying put a border on your text. Obviously using the black border and black text doesn’t show very well but if you change the colour you’ll see the difference. If you’re looking to add a shadow to your text then this next option is for you. If you want to increase the blur on the text all you need to do is slide the bar up and if you want to change the position slide the horizontal or vertical bars up.
If you want to change colour of the blur then click on the colour picker. Finally on the list is blend mode and this is probably something I’m going to cover in its own video. Moving up to the top of the page and we’re going to click on the advanced tab. If you want to see how to use this tab then watch this Tutorial here.
That’s it for this video guys i hope you found it useful please do like and subscribe for future videos it really does help thanks for watching see you in the next Tutorial.

