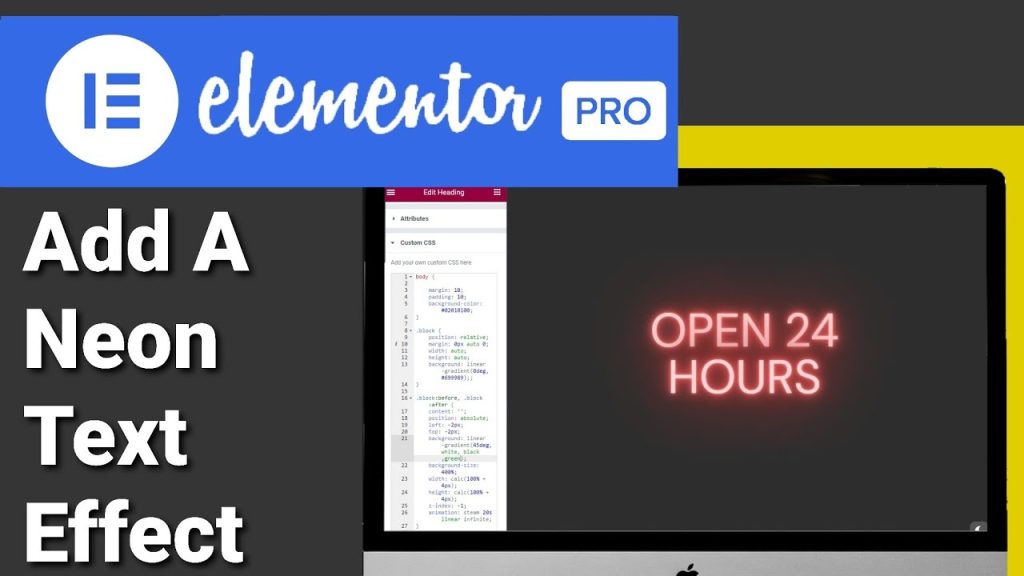
How To Add CSS Neon Text Effect In Elementor
Hi guys in this Tutorial, I’m going to show you how you can add neon text to your website it’s extremely easy to do. So don’t forget to hit that like And subscribe button and let’s get into the Tutorial.
Okay to add our neon text into Elementor. The first thing we need to do is add a new section and I’m going to select three columns. In the centre column I’m going to drag in a heading widget and in the heading widget. I’m going to type in on the left hand side “open 24 hours”. Once I’ve finished typing in the text I’m going to Centre align it on our page. Now I’m going to go up to the advanced tab on the left hand side and then I’m going to scroll down to the bottom to custom CSS.
Next I’m going to paste in our custom CSS code. You do need Elementor Pro to add CSS code to your page if you haven’t got Elementor Pro there is a link in the bottom of the description. With our code added we’re now going to go back into the style tab on the top left hand side and choose a colour for our text. You might be wondering why our text hasn’t got our glow yet and that’s because I have an added a CSS class name. I will add that in a few minutes until then we’re going to click on Style in the top left hand side.
Now I will choose the Colour Picker. Now if you think of a real neon sign, a lot of the colour comes from the reflective glow on the background. A lot of the text almost appears white and this is the effect we’re going to add now. Once you’ve chosen your colour I’m going to stick with the red you’re going to want to move the ball up into the colour palette and select a dark version of the overall colour. Then you’re going to need to copy that hex colour.

Once you’ve done that, go into the advanced tab in the top left hand side and select your custom CSS at the bottom of the list. Now if you scroll to the bottom of the code you can see a list of hex colours. And this is where we start building up the colour of our text. The lower you are down the list the darker your colour should be and this is because you’re further away from the light source. With that being said we’re going to replace the two existing colours in our code. So we’re going to have to highlight them on both lines and paste in our colour.
Once that’s done we’re going to go back into the style tab in the top left hand side and choose the Colour Picker again. Now we’re going to choose a lighter colour of our text that we’re going to be using. Back in our code we’ve already changed the bottom too so now we’re going to select and paste in our colour for the next three lines. You can fade this out even more by changing each colour on each line making it lighter as you get to the top of the list.
Once that’s done we’re going to go back into the style tab in the top left hand side. We’re going to choose our Colour Picker and we’re going to make it as bright as we can. This time, copy and paste that code again. Now we’re going to go back into our code and paste in our colour in the next two lines closer to the top of the list. You should have one line remaining that you haven’t changed. So we’re going to go back into the Colour Picker this time and we’re going to add more white to the colour.
This is because it’s closer to our text copy and paste this colour into the last line of our code. Now we’re going to go back into the style tab for the last time and choose a pinkie colour for our text. All that’s left to do is go into the advanced Tab and add our CSS class name. As soon as you finish typing it in it will automatically update. Now you can preview your page by clicking on the preview button next to the update button on the left hand side.
So there you have it it’s extremely easy to add a neon effect to your text. If you want to change the size of your text. All you need to do is go back into Elementor click on style – typography and then use that to change the size of your text. You can add background images to your sections that make your text appeared that it’s on a wall.
Remember you do need Elementor Pro to add custom CSS to your page. If you haven’t got Elementor Pro there is a link at the top of the description. It is an affiliate link it doesn’t cost you any more to use but it does give me a very small percentage of Elementor’s profits if you choose to sign up. If you have found this Tutorial useful please do hit that like And subscribe button and if you’ve got any questions come and hit me up in the comments box below
Thanks for watching and I’ll see you in the next Tutorial.

