
Add A CSS Glowing Gradient Border In Elementor (Tutorial)
All right guys in this Tutorial, I’m going to show you how to add glowing borders to your Elemental widgets. So sit back relax hit that like And subscribe button and let’s get into the Tutorial.
Okay to get things started the first thing I’m going to do is add a new section to our page. I’m going to add this section in between two spaces. This is for no other reason than to make it easier for you to see on this page. With our section added I’m going to select three columns to add to this section and in the middle column.
I’m going to drag in a header widget. With our heading widget added the next thing I’m going to do is get our page colour. And we can find that by clicking on the gear icon in the bottom left-hand corner. Then we need to click style in the top-left now I’m going to select our Colour Picker and copy our colour.
I’m now going to select our heading and on the title box on the left-hand side you can enter in your text. I’m going to leave this as it is but I am going to Centre align it. I’m now going to select our Advanced tab on the top left and I’m going to change our pad into 10. You can change this to whatever best suits your page once you’re done select CSS classes and type in block.
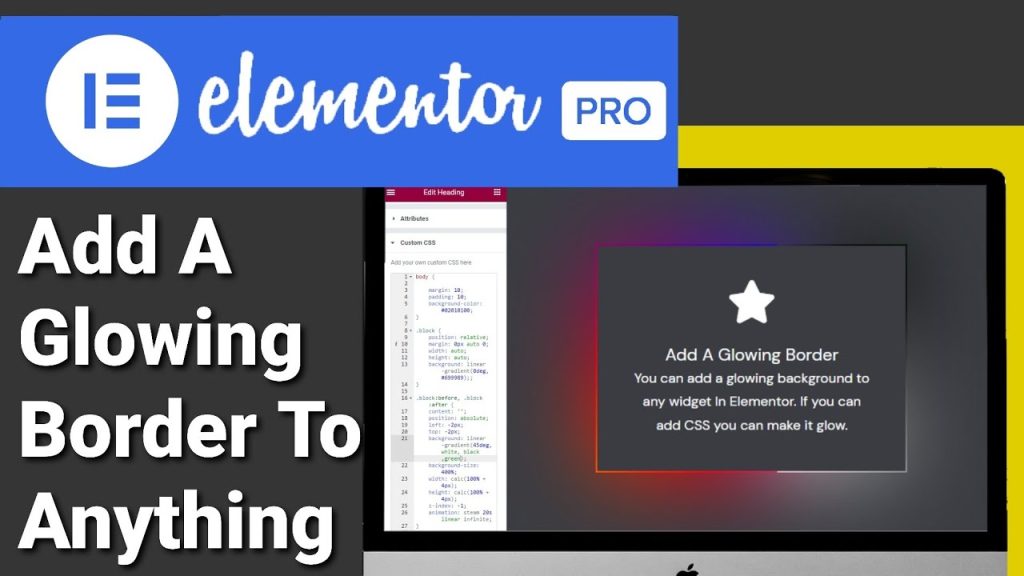
Now we’re going to click on background cell. Select classic and choose our Colour Picker and in the bottom box we’re going to paste in our page colour. I’m now going to add our custom CSS code you do need Elementor Pro to add custom CSS code to your page. If you haven’t got Elemental Pro there is a link in the bottom of this Tutorial. Click on custom CSS on the left-hand side and paste in the code. That you can find in the description below.
Because we added our CSS classes name you’ll notice that our border has already started to Glow.
Before I get into too much detail I am going to change the colour of our text in our box. And we can do that by clicking on Style in the top row on the left-hand side. Selecting a Colour Picker and choosing white. Now we’re going to go back into the advanced tab in the top left hand side and select custom CSS. This time we’re going to start customizing the colours of our code.
If we scroll down our code we can find the words red white and blue. This is where we can add our own colours. I’m going to highlight our red and I’m going to replace it with green.
As soon as I finish typing that in it will automatically update our code we can add any color we like here so I’m going to highlight the blue and replace it with black once again it will automatically update and we can add as many colors as we like here all we need to do is add a comma behind the last color and start typing in our new color so for this I’ve typed in yellow and as you can see we’ve got the white black yellow and green you can also add hex codes to match in with your site’s branding.
If you want to remove the border from the box. All you need to do is go into layout at the top left hand side and change the margin to -2. This will remove the solid border and leave you with the glow. It’s not just headings we can add this glow to any widget you can add CSS to we can add this glow as a background. So what if we wanted to add this glow to an icon box.
We would need to go back into our page settings and style and get our background colour for our page. I’m going to add all the sections that I need to drop in my icon box.
Once that’s been added we’re going to click on the advanced tab in the top left-hand side. Select background and classic and we’re going to paste in the background colour of our page. Then we’re going to click on layout in the top left and select CSS classes and type in Block. If you haven’t already used the code on your page you will need to go into custom CSS and paste in the code. You would also have to paste in the code if you wanted to change the colours and have it separate from the other text box.
You would need a new CSS class name and change that within the code. Either way you can start changing your margins and your padding. Then you can go into your content Tab and start changing your text. Once you’re done with your text you can then go into your style Tab and start changing the colours of your font and your icons. Once you finish finish making all your changes all you need to do to preview your pages.
Click on the preview button next to the update button on the bottom left hand side. As you can see the effect does look really good on the page. Now you might be thinking yep it looks great but I don’t have a black background on my website and neither do I want one. Now with my code it doesn’t matter what your page colour is. It works with all colours the only difference being is the end overall effect may not stand out as well.
To get the best effect try to use contrasting colours. I will show you the slight changes that you will need to make if you’re using a different page colour. So what you’ll need to do is click on the gear icon in the bottom left-hand corner and click on Style in the top left. I’m going to select on the Colour Picker and slowly change the colour of our page. As you can see the borders are still glowing but the background of our boxes are not changing. You’ll also notice that the light of the page gets some of the actual colours of the glow won’t stand out as much.
Once you have chosen the colour of your page, you’re going to need to copy the hex code. This is what you’re going to use to change the background colours of your icon box and your heading widget. Paste those into your colour palette and that will match it to the background of your page. You can also add this code to a button. When you do that you will need to change the layout to inline.
So as you can see it’s extremely easy to add glowing borders to your Elementor web page.
Remember that if you do want to use the CSS custom code you will need Elementor Pro. If you haven’t got Elemental Pro there is a link at the below. It is an affiliate link it doesn’t cost you any more to use but it does give me a very small percentage of Elementor’s profits if you choose to sign up. If you have got any questions feel free to come and hit me up in the comments box below.
Don’t forget if you have found this video useful.
Please do hit that like And subscribe button and I’ll see you in the next Tutorials thanks for watching.
