alt="Fold Images In Elementor"

Add A Folding Image To Elementor With HTML CSS

Add A Folding Image To Elementor With HTML CSS

Hi guys in this Tutorial I’m going to show you how you can fold an image and reveal a button in Elementor. It’s easy to do so don’t forget to hit that like And subscribe button and let’s get into the Tutorial.

Okay to get things started I’m going to add a new section to our page. I’m going to choose three columns on this one and I’m going to type in the left hand side HTML code and I’m going to drag in a HTML widget. Once we’ve dropped our HTML widget onto our page we’re going to paste in our HTML code. You can find that code in the description of this Tutorial. Now we’re going to have to paste in the CSS part of our code you do need Elementor Pro. To be able to add CSS code to your Elementor page.

If you haven’t got Elementor Pro then there is a link in the bottom of the page. Once your CSS code has been pasted into the CSS box. It will automatically update.  If you hover over the newly added image. It will fold and reveal a button this does overlap our Elemental column slightly. So all we need to do to be able to click our button is move the column.

Now I’m going to show you how to edit the code and make sure any image that you do add to. This code does work on your site this size of the image on the page at the moment Is 1920 by 1080. This is a YouTube standard thumbnail size. So if you are using it for YouTube thumbnails on your website you can actually get away with not having to resize the image.

Folding Image To Elementor

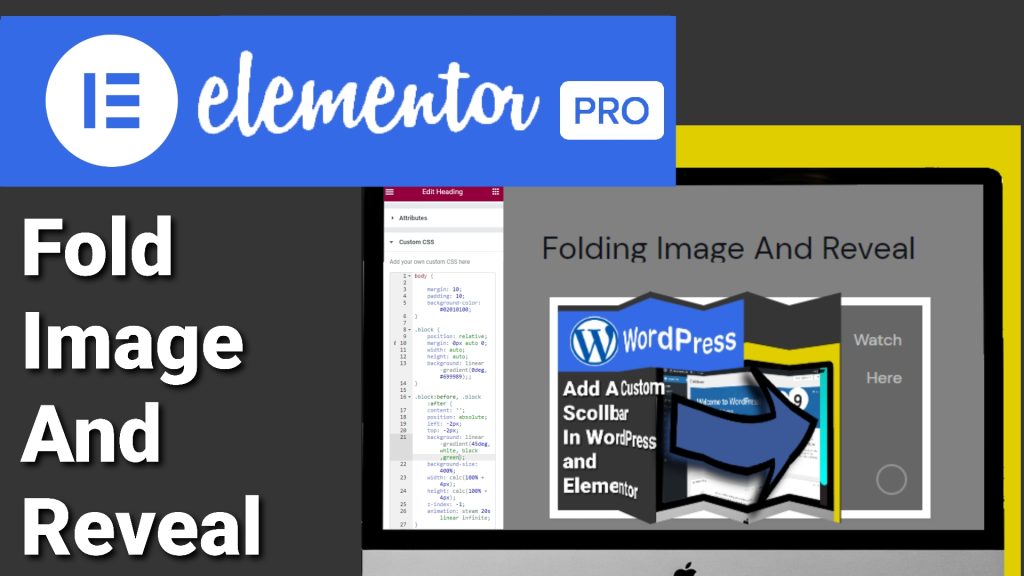
If we want to change the Border size around that image all we need to do is go into the second line of our code where it says width. As you can see here if we change the size it will stretch or make it smaller. The same will happen if we change the height of this box and we can change that height in the next line down of our code. One thing that you’ll notice if we change the size of our height.

It will actually lose part of our image. Don’t worry I will show you how to correct this later in the Tutorial. The next line of our code let’s just change the margin around our Widget. The next part of the code I’m going to show you how to change is the slice of the image. So we’re going to go down to the next block of our code, and this determines the size of each of these folds. When you change your image or the size.

You will need to be able to know how to do this. So if we go to the width line of our code and we change 60 to 70 you’ll be able to see when you fold the image back the overlap. So that’s how to change the very basics of our code. Don’t worry I will show you how to change the image later in the Tutorial.

The next thing I’m going to show you is how to add more slices to your image. So if we scroll down our code on the left hand side we’re looking for view S6. The S6 refers to the sixth slice of our image. We’re going to highlight this and copy it and directly underneath that we’re going to paste it in. And in that newly pasted slice of code we’re going to change the six to seven. Now towards the top of our page here we’ve got view S6.

We’re going to copy this and paste it in underneath, and like how we just did we’re going to change the S6 to S7. We don’t need to come up behind the S7 so we’re going to take that away and we’re going to add one behind the S6. Now we’re going to have to add the fold to our code. To do this we need to scroll down towards the bottom of our code where it says view hover. In this section of our code we’re looking for view hover S6.

When we found it we’re going to highlight it and copy and paste it directly underneath into our code. Now above that pasted in bit of code we’re going to paste it in again. But this time we’re going to change it from S6 to S7. You will have to change each slice’s angle and their size. To change the slice angles click on degrees and change it from 90. 

You don’t have to do this step if you don’t want to add more folds to the image. Now what I’m going to show you is how to change the Target location of the button underneath. To do that on the left hand side scroll to the top to the HTML content box. At the top of our code in the HTML page we can see a URL. 

If we change this it will send our visitors to where we want them to go onto our site. If we leave it how it is and we click on the preview button. On the bottom left hand side and we click on the button it will take us to our gallery where that image is saved. To send them to a new page or website highlight that piece of code and paste in its new location. If we hover over that button we can see on the bottom left hand side of our screen that our location is set.

Now if we click on the preview button in the bottom left hand side and click on our button. It will take us to our YouTube channel. Now what I’m going to show you is how to change our image. Go back into Elementor and on the left hand side in the HTML box you’ll see another URL. Headed div class slice S1. What we need to do is highlight this URL and we’re going to start pasting in from our media Gallery our new image.

Once you start pasting in your new URL from your gallery it will automatically change the image. Now you need to scroll through the rest of your code and in each slice change the URL. We’ve already set which part of the image goes in each slice. So when you paste your code in it will auto automatically get that part of the picture that it needs.

If we’ve added more folds then we need to copy the last slice and paste it in directly underneath. Because we’ve got seven in our CSS class. We’re going to highlight the last section and we’re going to paste it in directly underneath changing the S6 to S7. Then all we need to do is scroll down through the rest of our code. Anywhere it says S6 highlight it copy and paste it in directly above or underneath any new code that we’ve copied and pasted in. Will need to be changed from S6 to S7 along the way.

Remember if you are adding CSS code to your Elementor website. You will need Elementor Pro. If you haven’t got Elementor Pro there is a link in the top of the description below. It is an affiliate link it doesn’t cost you any more to use but it does give me a very small percentage of Elementor’s profits if you choose to sign up. If you have found this Tutorial useful please do hit that like And subscribe button.

If you’ve got any questions come and hit me up in the comments box below. Don’t forget to check out the rest of my Tutorials. Thanks for reading and I’ll see you in the next one.

alt="tutorials" alt="Hexagon Portfolio Code" alt="GLOWING NEON TEXT" alt="Water Ripple Effect " alt="Water Ripple Effect code" alt="Rotate And Z-Index" alt="Not Linktree" alt="User IP and Location" alt="auto play video" alt="Click Button to Change Image And Text Using Elementor" alt="7 Day Repeat Countdown Timer" alt="Blog Posts Only" alt="Change Background And Text Colour On Scroll Code"

Folding Image To Elementor

Leave a Comment

Your email address will not be published. Required fields are marked *